
Z31/Illuminated300zxbar php
Auto-imported article. This page was generated by the Z31 Library import pipeline from forum sources{{#if: | in category {{{category}}} | }}. The text was synthesized by an LLM and has not been hand-verified. Please correct errors and remove this banner once reviewed.
{{#if: | [[Category:Auto-imported — {{{category}}}]] | }}
Z31 1984-1986 Tail Lamp Bar Illumination Modification
Illuminating your 300ZX panel is a simple and inexpensive modification you can do the make your Z stand out. The following is a write up that was done some time ago.

Items needed
- Tools to remove the rear panel (screwdrivers, trim tools, etc.)
- 300mm LED strip light kit (white, waterproof, 12V, with wiring harness)
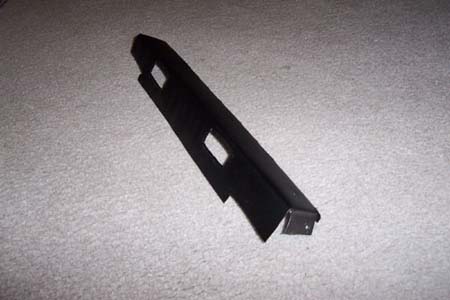
- Thin sheet aluminum or steel for mounting
- Glue and/or small screws
- Can of Night Shades or similar spray-on tinting
- Plastic light diffuser or LED-compatible cover
- Wire connectors and heat shrink tubing (for safe LED wiring)
Process
- Remove the rear trim and undo the 4 screws holding the rear panel on.
- Unplug the number plate lights and remove the panel.
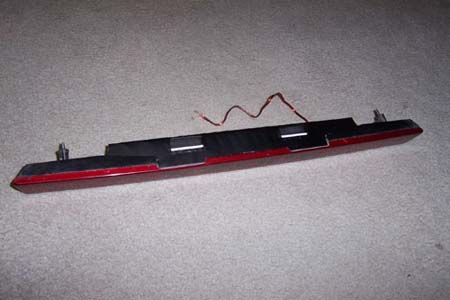
- Carefully pry apart the backing from the red plastic section (use trim tools or a flat screwdriver—be gentle to avoid breaking tabs).
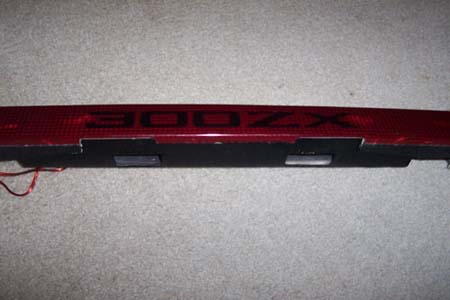
- Trim or cut away some of the backing so you can see the "300ZX" writing; it's normal to remove the two inner screw bosses here.
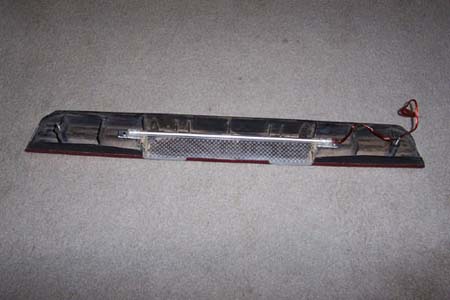
- Test-fit your LED strip—trim the backing as needed so the LED strip will fit evenly behind the lettering.
- Sand the back of the "300ZX" lettering to allow more light to pass through.
- Tint the back of the lettering (using Night Shades or similar) so the letters still look black during the day.
- Reassemble the two panel pieces.
- Cut a plastic light diffuser or LED-compatible cover to size and fit it between the panel and the LED strip to create even light distribution.
- Secure the LED strip to the panel backing using glue or screws and an aluminum mounting plate for stability. Make sure the strip is straight and centered for best results.
- If the LED strip is fragile, handle it with care; replace if necessary.
- Make a thin aluminum reflector panel to improve light output and create a cleaner appearance.
- Glue or screw the aluminum reflector in place.
- Wire the LED strip into the existing number plate light wiring. For easy removal, add a waterproof plug connector.
- Reinstall the rear panel and replace the interior trim. Confirm everything is secure and test the new lighting.
Sources Used
1984-1988 Nissan 300ZX Factory Service Manual- Writen by: Darren Kemp