
Z31/reartailconversion php
Auto-imported article. This page was generated by the Z31 Library import pipeline from forum sources{{#if: | in category {{{category}}} | }}. The text was synthesized by an LLM and has not been hand-verified. Please correct errors and remove this banner once reviewed.
{{#if: | [[Category:Auto-imported — {{{category}}}]] | }}
Replacing Your Z31 Power Window Motor
With the rounded '87 style front end and a cleaner appearance thanks to the lack of bulky side molding, the '84-'86 rear started to look dated and out of place. So, why not update it? After considering several options, I decided the most appropriate (for a 200ZR-II replica) would be to swap to the more modern '87+ rear panel. When looking at both cars side by side, the challenge—and the payoff—of this project becomes clear.
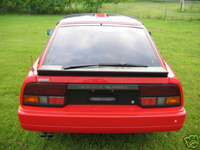
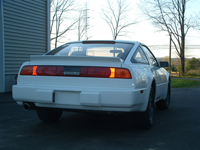
Items Needed
If you plan to install an '87 panel onto your pre-'87 ZX, you’ll need to acquire the rear panel. You can order it new from Nissan (part number 79110-21P50)), or have a local salvage yard cut one from an existing '87-'89 chassis. For my conversion, Cuda from Z31.com sent me a rear panel from his '87 parts car, saving time and money. The following approach uses a rear-panel cut.
Procedure
The Process
Start by welding in a stabilizer bar in the rear hatch area, just behind the quarter windows. This keeps the chassis from flexing outward after the original rear panel is removed.
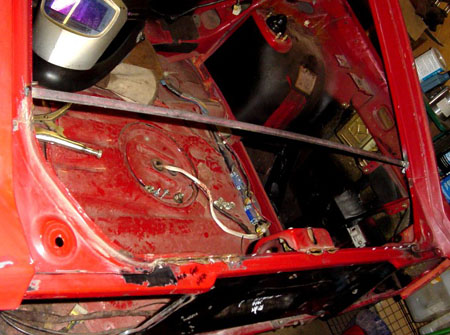

The rear panel is held with a series of spot welds. Begin by drilling out the welds on the upper edge (where the hatch closes). The '84 latch and structure will be reused, so drill out its welds as well. Use a 3/8" cobalt bit and only drill through the first layer.
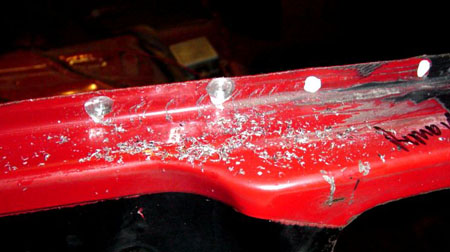
Note: Mark weld locations with paint before drilling for easier removal.
Once the spot welds are drilled, separate the panels using a screwdriver. Don’t worry about damaging the panel you’re removing.
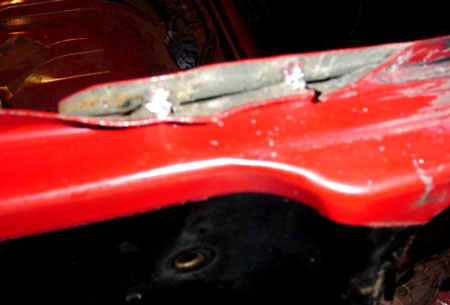
Continue drilling and separating spot welds on the outer edges and license plate panel.
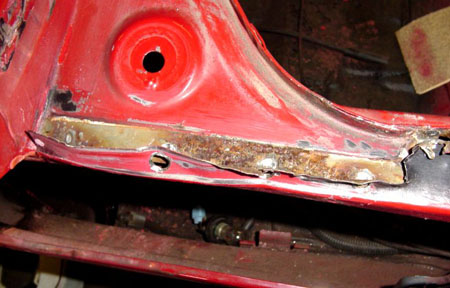
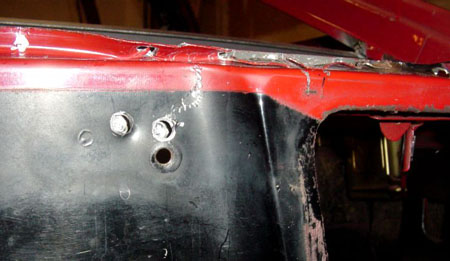
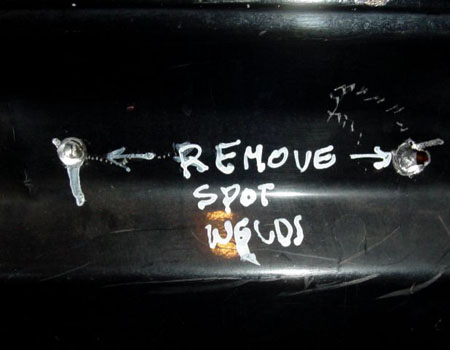
For the lower edge, cut the panel approximately 2" above the factory seam.
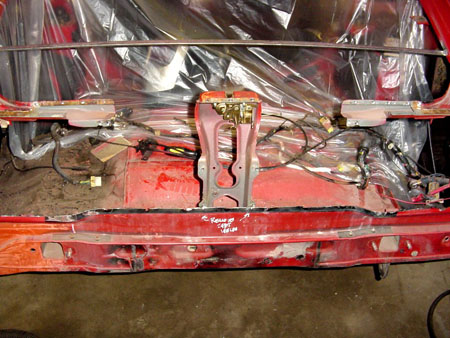
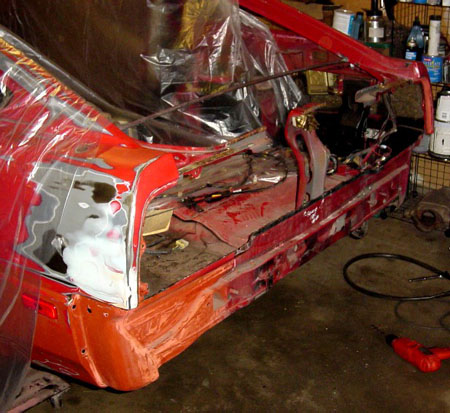
At the quarter panels, cut about an inch from the edge, leaving all quarter-panel to tail-lamp mounts intact. Remove the panel from the vehicle.
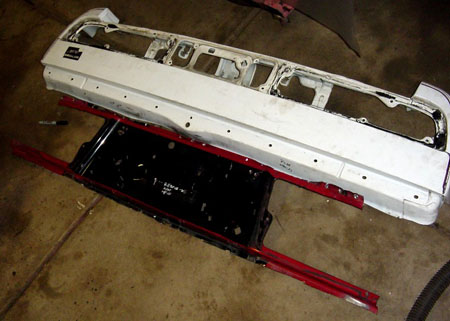
Here’s a comparison of the original (removed) panel and the '87 panel.
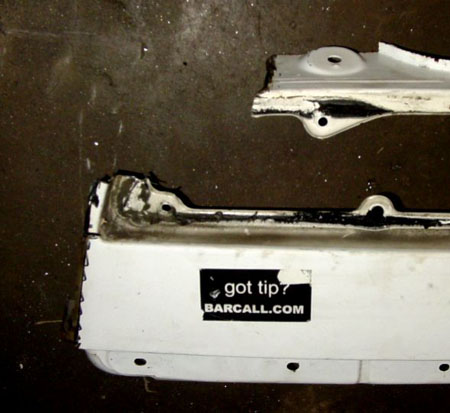
To install the '87 panel, trim the quarter panel areas to fit the '84 section. Trim a little at a time and test fit until perfect. Below are examples of what I trimmed:
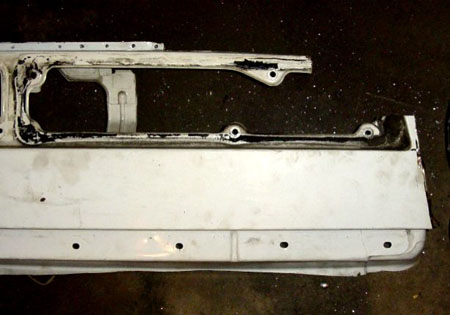
Remove inside support structures and the latch (spot-welded in place). Drill out spot welds just as before.
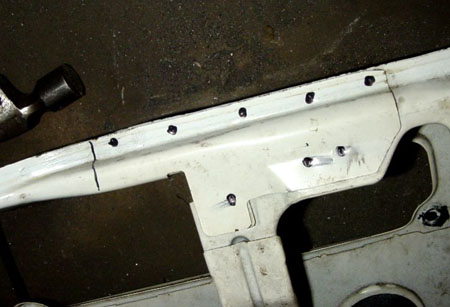
Prep the panel by carefully fitting and trimming until the new panel fits perfectly.
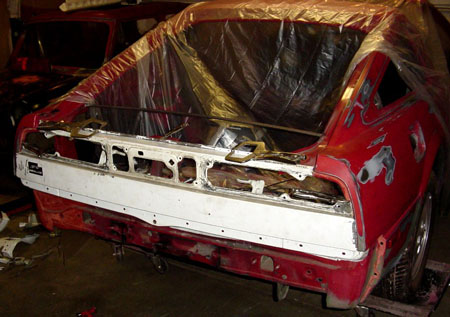
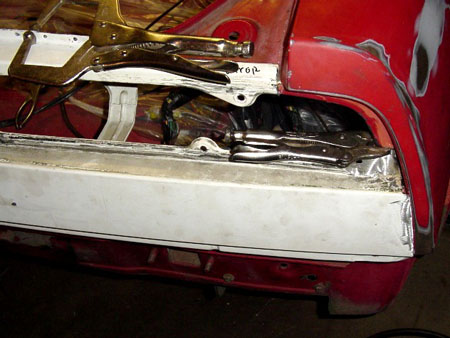
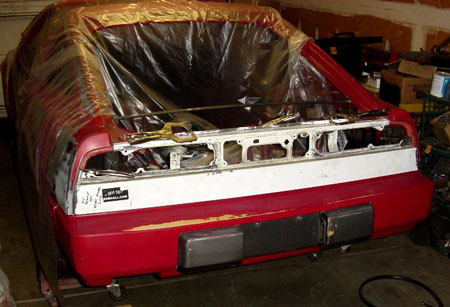
Before welding, test fit the taillamps to ensure even spacing.
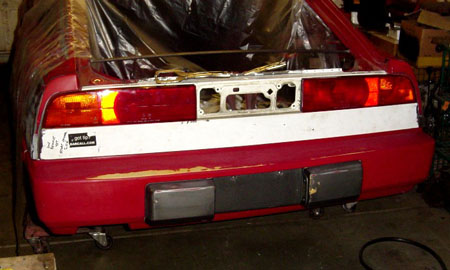
Once satisfied, weld the panel in place. Plug weld to the upper reinforcement and latch using the drilled holes, and run continuous welds at the quarter panels and along the bottom. The '84 lower inside edge may need to be bent to fit the '87 panel.
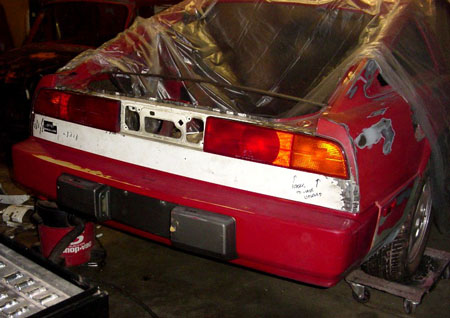
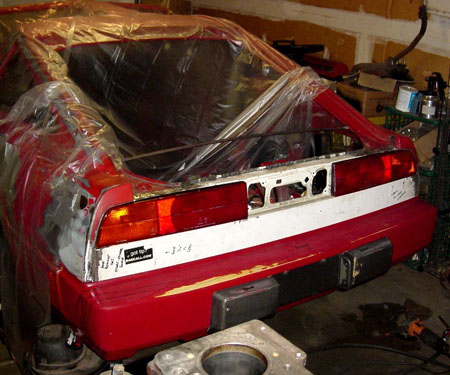
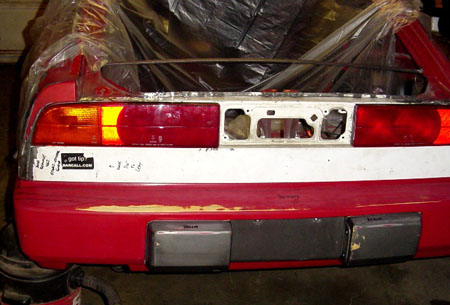
Grind welds smooth and shape the area with high-quality filler. There is a continuous stitch weld along the bottom. (Note: Filler in the quarter panel here was for accident repair, not tail conversion.)

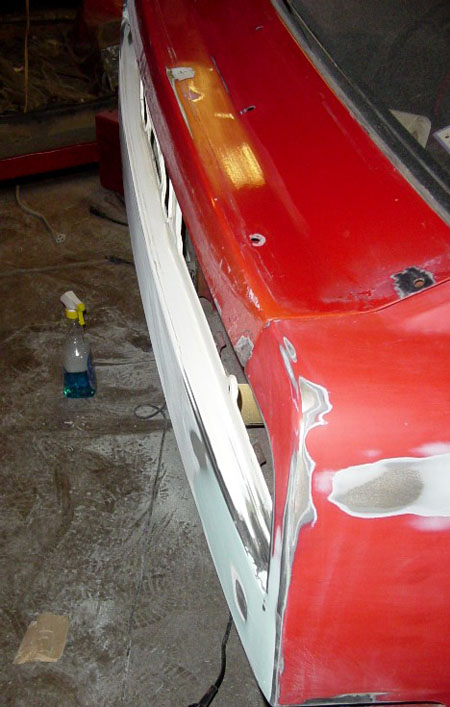
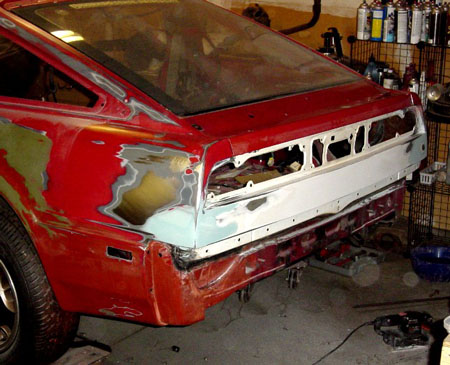
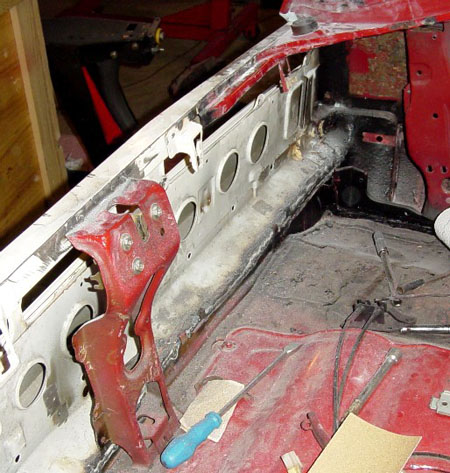
Finally, prime and paint the rear section. Apply 3M's Brushable Seam Sealer to all welds inside and out before priming. Ensure all interior seams are coated to prevent moisture intrusion. Mask the body to prevent paint from getting inside.
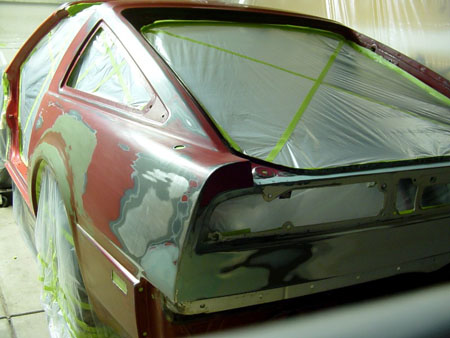
Prime with a high-build surfacer and sand to 600 grit (or as instructed by the primer manufacturer).
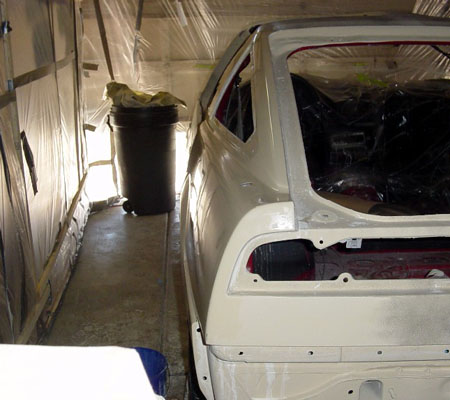
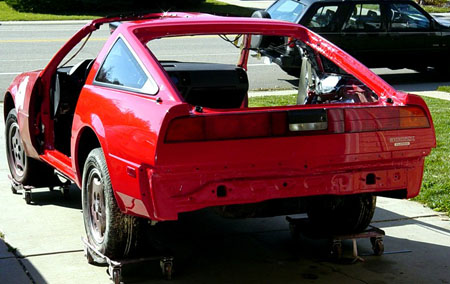
Finish with your chosen paint, install lights, hatch seal, and closers. If desired, add the '87 rear emblem (I chose the graphite "300zx Turbo" — part number 99099-21P11).
Sources Used
1984-1988 Nissan 300ZX Factory Service Manual- Images and write-up By: Redare