
Z31/doubledin php: Difference between revisions
Site import |
m XenonzcarImporter moved page Sites/Xenonzcar/z31/doubledin php to Z31/doubledin php without leaving a redirect: Flatten Sites/ namespace; provenance preserved via ImportedFrom banner |
(No difference)
| |
Revision as of 06:38, 16 May 2026
Auto-imported article. This page was generated by the Z31 Library import pipeline from forum sources{{#if: | in category {{{category}}} | }}. The text was synthesized by an LLM and has not been hand-verified. Please correct errors and remove this banner once reviewed.
{{#if: | [[Category:Auto-imported — {{{category}}}]] | }}
Custom Double-DIN Radio Install for Z31
image: Installed Jensen VX-3022 Double-DIN
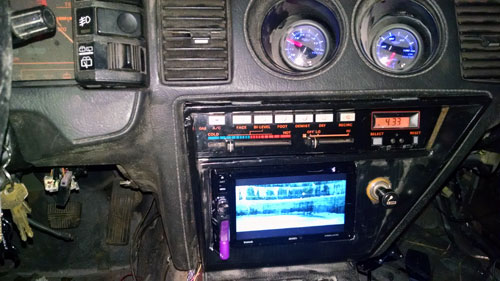
I originally purchased a Pioneer FH-X700BT for my '96 Toyota Camry that has since been scrapped. Since I needed a head unit for the Z31 and liked the features, I decided to retrofit it into the stock location. The Z31 uses an odd 1.5-DIN size for the factory radio, so modifications were needed.
WARNING - Do this modification at your own risk. We Are not responsable for any issues of your own doing.
Items Needed
- Z31 Radio Mounting Bracket
- Z31 Radio Bezel
- Dremel Tool With Cuting Disks and sanding wheels
- Fiberglass Resin
- Fiberglass Cloth
- Fiberglass Strand Mat
- Phillips screwdriver
- Various Sand paper
- Balsa wood strips
- High Build Primer
- Paint to Match (I used Black)
- Phillips screwdriver
Trimming and Bezel Modification
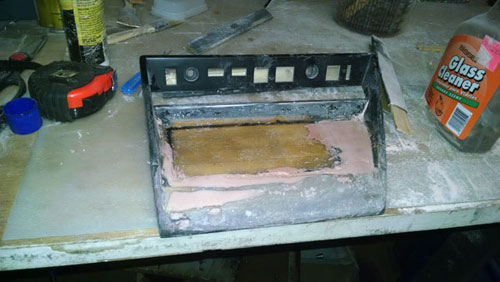
First, I removed my spare bezel and radio mount from the dash. The bottom of the mount was trimmed to make room for the Double-DIN unit. The ashtray area was cut away, and the entire section between the lighter socket and the crossbar under the AC controls was removed. This large opening was later rebuilt with fiberglass.
Using balsa wood strips, I created a backing structure and applied 3-4 layers of chopped fiberglass mat with resin to reinforce the bezel. This adds strength and prevents cracking.
Shaping and Sanding
Once the fiberglass cured overnight, I shaped the surface using 60-grit sandpaper to knock down high spots, followed by finer grits (100-220). Low spots were filled with more resin or body filler.
image: Fiberglass filled bezel
Cutting and Test Fitting
After achieving a smooth surface, I measured and cut the opening for the head unit. The lighter socket was relocated to the right of the unit.
image: Cut bezel for double-DIN
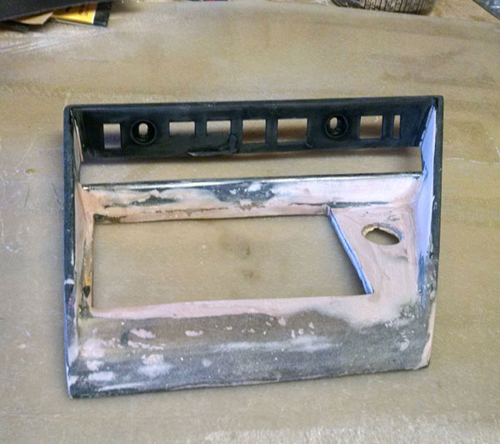
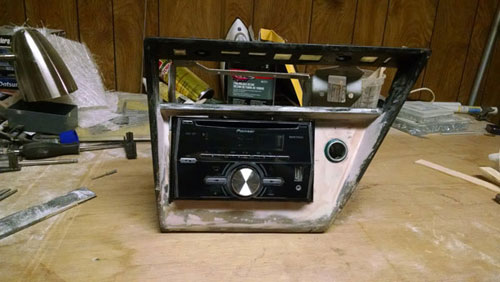
image: Test fitting accessories
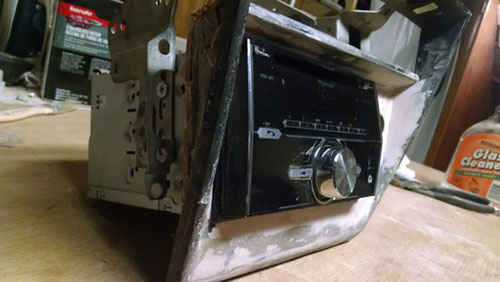
Priming and Painting
The bezel was cleaned, primed with high-build primer, and painted gloss black to match the stock interior.
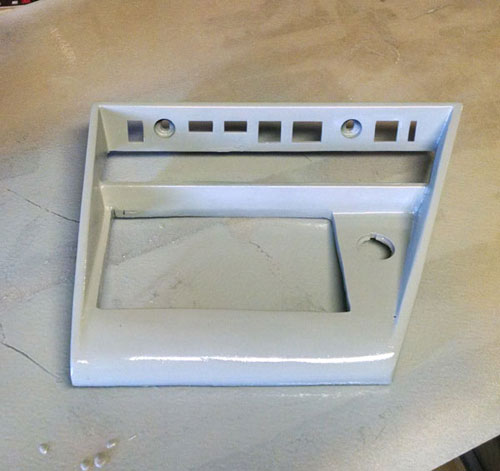
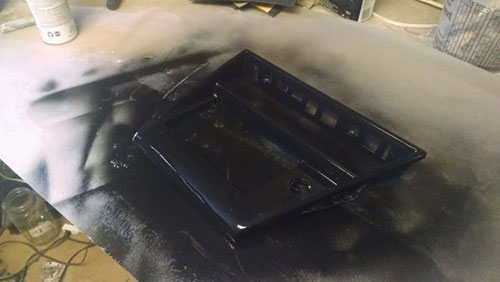
Final Installation
The dash structure near the ashtray area was trimmed with a cutoff wheel to fit the unit. After wiring and testing, the bezel was installed, and the head unit mounted like factory.
image: Installed Jensen VX-3022 Double-DIN DVD
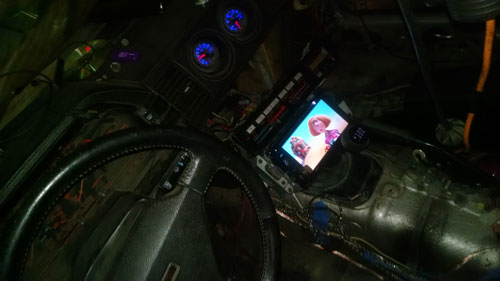
I later replaced the Pioneer with a Jensen VX-3022 touchscreen DVD player, which fit perfectly in the modified bezel.
image: Jensen VX-3022 powered off
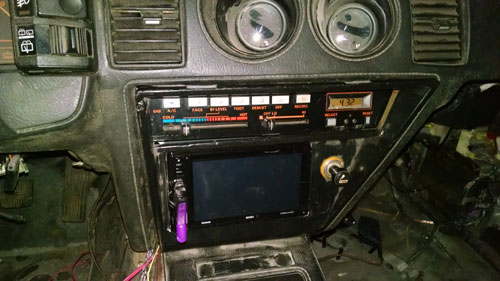
image: Jensen VX-3022 installed and powered on
Sources Used
- Written by: XenonZcar